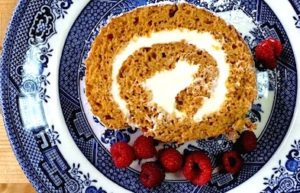
A dear friend recently asked me about preventing pumpkin rolls from cracking after rolling, and I had to admit that I had never made one. So… I decided to take out the can of Libby’s pumpkin in my pantry and try the recipe on the inside of the label. I made a few changes, but pretty much left it the same. I weighed the flour after measuring, just in case there were any problems. This way, I would know exactly what amount was used and be able to adjust accordingly. Below are the results. Hope it helps when you’re making your pumpkin roll!
Preparing the pan: The original recipe suggests greasing a 15 by 10 inch jelly-roll pan, lining it with wax paper, then greasing again and flouring. I sprayed with non-stick pray, lined with parchment paper and sprayed again and floured, tapping out the excess flour. I was lazy and used a smaller piece of parchment paper that I already had on hand and the cake stuck where there was no paper- so make sure your paper covers the whole bottom of the pan!
Cake Recipe:
3/4 cup all purpose flour (by weight 3.5 oz.)
1/2 teaspoon baking powder
1/2 teaspoon baking soda
1/2 teaspoon cinnamon
dash of nutmeg (original recipe called for 1/2 teaspoon ground cloves)
1/4 teaspoon salt
3 large eggs (the size of the eggs do matter)
1 cup sugar
2/3 cup pumpkin (being the recipe on the Libby’s can, it of course calls for their pumpkin)
My Method:
1) Sift together the first 6 ingredients and set aside.
2) Place the eggs in a metal or glass mixing bowl and set in a very-warm water bath. This can be a larger bowl or pot half filled with warm water. Stir the eggs until they are lukewarm or at least the chill has come off of them. (Eggs will whip up nicer when they are warm.) Take out of the water bath, add the sugar and whip until the mixture is a pale yellow and leaves a trail when you lift the beaters. See video below (20 seconds long). Add the pumpkin and mix in.
3) The rest I do by hand, so that the gluten won’t get over developed (which will make your cake tough and holey). Using a spatula, fold the flour mixture into the egg/pumpkin batter, mixing only until the ingredients are incorporated.
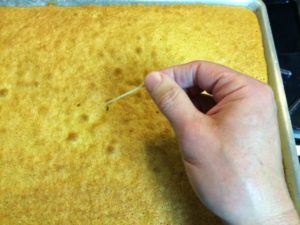 |
| Testing for doneness. |
4) Empty the batter into the prepared pan, gently spreading to the edges of the pan. Bake at 375F for 13-15 minutes. A toothpick inserted into the center should come out clean. Note: If your oven temperature is off, it can really effect the outcome of this type of cake. If you have to bake much longer, the cake could dry out as it is cooking. If you suspect your oven temperature may not be correct, test it with an oven thermometer and adjust accordingly.
5) While cake is baking, prepare a clean lint-free kitchen towel for the rolling. Liberally sprinkle powdered sugar on the towel on a clean dry surface. Also have a cake rack ready. (In the picture, I’m actually using an old roasting pan rack.)
6) After removing cake from oven, looses the edges by running a knife to free the cake from the sides of the pan (if necessary). Some people like to use plastic knives for this, so they don’t scratch their pans, but I just try to be careful and not scrape the knife on the bottom of the pan.
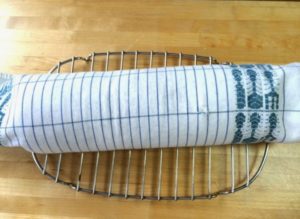 |
| Cooling on rack. |
7) Turn the pan upside down on the prepared towel to release the cake from the pan. Carefully roll up using the towel to help. Place the rolled cake on a rack to cool.
8) When cake is just about cooled (I put mine in the fridge to speed things up), prepare filling.
Filling Recipe:
8 oz. package cream cheese, softened
1 cup powdered sugar (original recipe said to sift, but I didn’t)
6 tablespoons butter, softened (original recipe said butter or margarine, but please…)
1 teaspoon vanilla extract
Extra powdered sugar for the top
Method:
1) I softened the cream cheese (Trader Joe’s) and butter by placing them on a plate and very carefully microwaving at 15 second intervals until soft.
2) Beat the cream cheese and powdered sugar until creamy and add vanilla. I use the paddle attachment on the Kitchen-aid stand mixer and whip until fluffy. (original recipe says beat until smooth)
Put it all together:
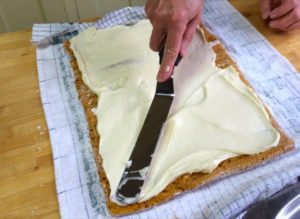
1) Carefully unroll the cake and spread the filling gently going all the way to the edges.
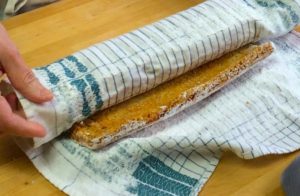 |
| Unrolling |
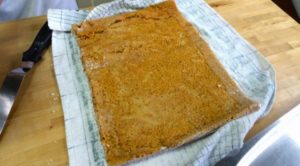 |
| Unrolled cake ready to fill. Can see the damage at the top of pic from not lining my pan to the edges, but you can’t tell in the finished product. |
 |
|||
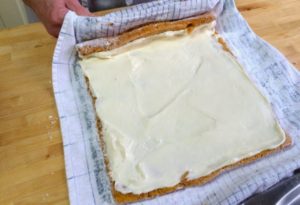
| Spread filling to the edges. |
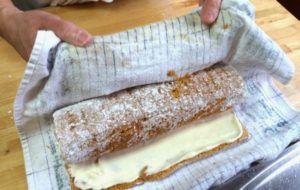
2) Gently roll the cake back up, using the towel to help.
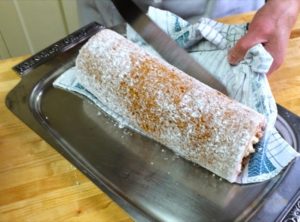
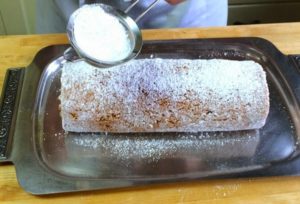
3) Then gently escort it onto your platter before sprinkling with powdered sugar. (The original recipe says to wrap the cake with plastic wrap and chill before serving, which would make the filling firm, but I just sliced mine right away.) Eat cake!!
 |
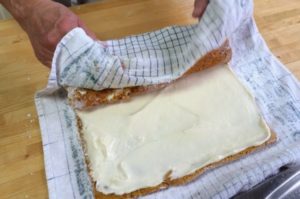 |
| Begin the roll | Keep rolling |
 |
 |
| You don’t even need to touch the cake. Let the towel work for you. |
Transfer cake to platter |
 |
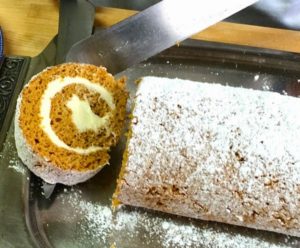 |
| Sprinkle with sifted powdered sugar | Slice with a thin sharp knife and serve! |

