1. Europe 2017 – Carrefour Hypermarket This is the first of my articles relating to our European trip in July. We visited Copenhagen, Berlin, Bremen, Amsterdam, Bruges, and our final destination, Paris. While there, I wanted to go to a large retail store and see what is was like and hopefully purchase some goodies to take home. We were traveling light and could not take too much with us, but I still had to get some more cooking things!
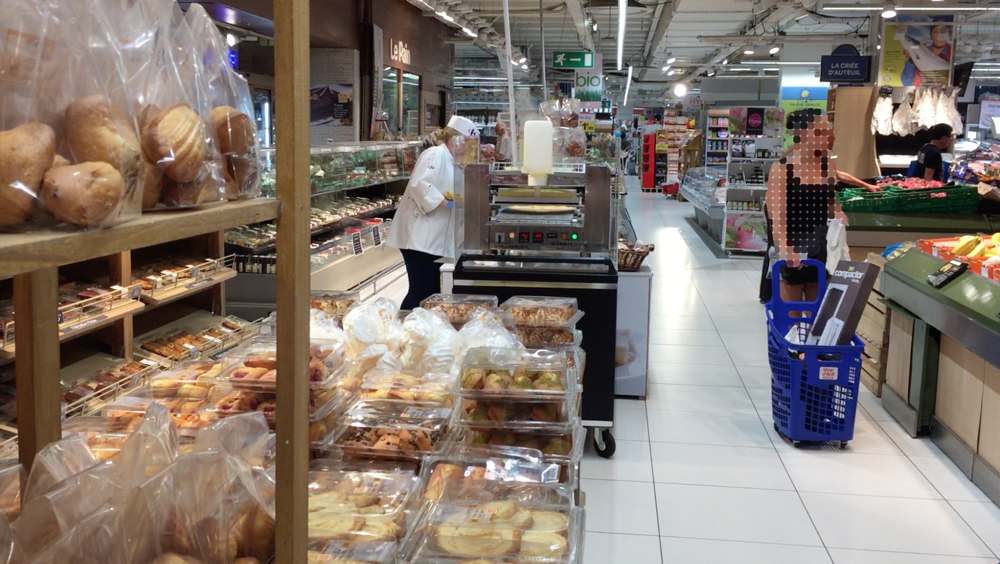
Looking online for a place to go, I read about the Carrefour chain and its hypermarket in Paris. This hypermarket was equated somewhat to our Walmart superstores. Of course, I had to go and see for myself. When we first walked in, the non-food items were displayed near the entrance and they did resemble what you might see at a Walmart. However, when we got to the food section, oh my…Absolutely no comparison.
There were amazing breads, cheeses, meats, seafood and on and on. In the top picture is a crepe machine in the distance. In the video below you can see it automatically making huge delicious looking crepes (unfortunately, we didn’t try them).
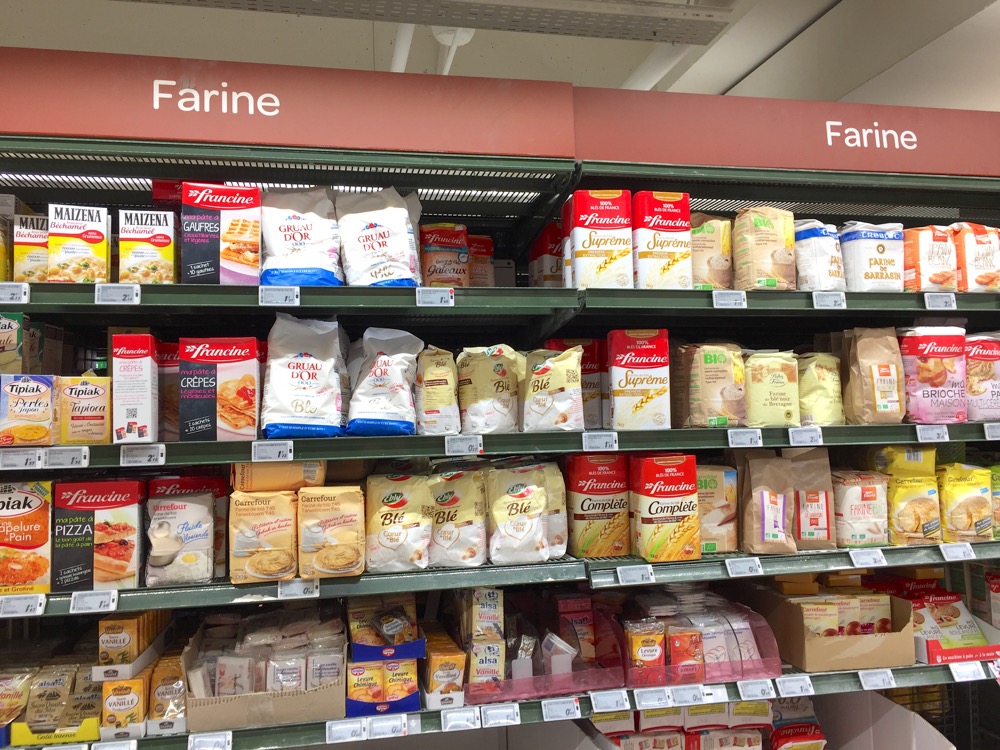
I wish I could have brought home some different flours seen in the picture above, but flour is a bit heavy to travel with. I did, however, purchase many other culinary items and in future articles/videos, will be comparing and contrasting. Coming next up next: French yeast vs. Aldi. Stay tuned…
Side note: One thing that I noticed in all the countries we visited in Europe, is that the ingredients listed on products appear to be more natural than those same products in the states. Especially when it comes to artificial food coloring. I’ve never understood why most pickles in the US have yellow food coloring in them. A topic for another article!
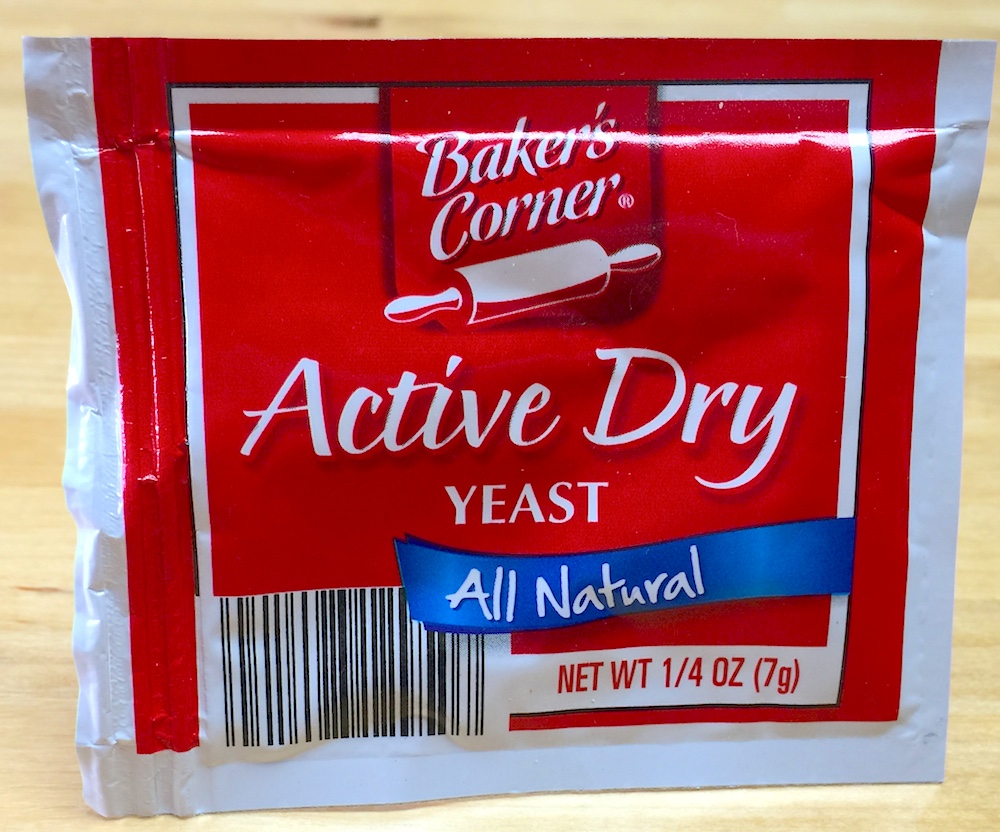
I often get asked about the necessity of proofing yeast, how should the yeast look, how long should it take, what if the yeast doesn’t get foamy, etc, etc… I would like to answer some of those questions here. My most watched video on YouTube is How to Make Pizza Dough, and in that video I show how to proof active dry yeast. I’d like to go over some of the many concerns and questions involving this step. First, let me talk about the yeast. I would prefer to use beautiful, natural fresh (cake) yeast for baking breads and pizzas, but that is quite impractical for home baker as it doesn’t stay fresh long, comes in 1 lb. blocks and is not usually found in grocery stores. The cake yeast that was available for the home baker and sold in grocery stores (I don’t know if it still is) is not the same as commercial cake (fresh) yeast. The commercial yeast has no starch or sugar in it, whereas the home version did. The advantage of using fresh yeast is that it can usually be incorporated directly into the dough ingredients without softening or dissolving first and has no additives. This leads me to the next subject about additives. I prefer to use yeast that has nothing else added to it. You can see in the picture below that the yeast used for this demo is from Aldi and the only ingredient is yeast.
Natural active dry yeast usually needs to be softened in liquid before use. Many of the instant and/or quick rising yeasts do not need to be pre-softened and can be added directly to the rest of the ingredients. Many bakers and many websites swear by these instant yeasts. I am not one of them. They usually contain Sorbitan monostearate and sometimes, ascorbic acid. An explanation of why Sorbitan monostearate is used is found on this Red Star yeast FAQs page. Let me just say that I find the quality of the dough and texture of the crumb better when made with regular active dry yeast. So why proof the yeast? You don’t have to, but it will show you that the yeast is alive and well and also gives it a nice kick start before being added to the dough. If you don’t add sugar (and sometimes I don’t-depending on the recipe), it won’t foam, but the softening is important to help the yeast to develop and grow once it gets some food, such as found in flour.
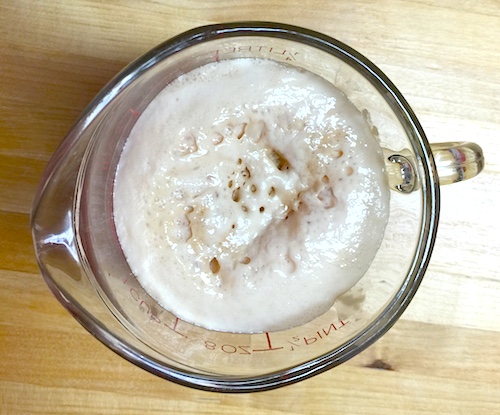
Here is a picture of 1 packet (~2 teaspoons) of Aldi regular active dry yeast (above) gently stirred into 1/2 cup warm spring water with 1 teaspoon of sugar and allowed to rest 10-15 minutes. Yours may not look like this for several reasons. Here are a few: 1) Your yeast may not be fresh enough, even though the “use by” date may be valid. 2) The water may be too cool or too hot. Temperature should be between 90-110F. 3) Your water may have things like chlorine or excessive hardness, etc, that can affect yeast growth. 4) A different brand yeast may soften and/or grow at a different rate than the yeast above.
In closing, even if your yeast seems sluggish, it may still work perfectly fine. It has happened to me many times. However, I have had to throw out yeast, especially bulk active dry yeast, that just seemed to lose its strength. When yeast gets old, it not only becomes sluggish, it can affect the quality of the dough. Hope that answers some questions. Happy Baking!
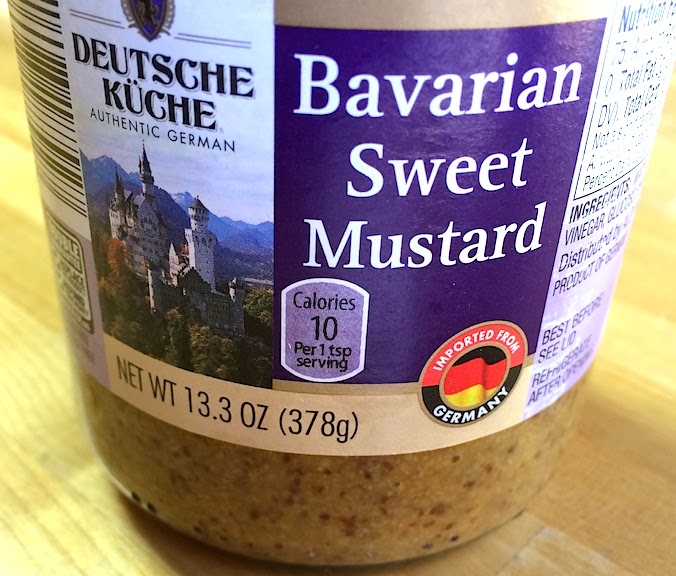
Recently, it was German Week at Aldi. Being a German based company, they often carry German made products, but during German week they have quite a few extra special food items. Many of their German products are great quality, especially the chocolate kind (which, fortunately, they have year round). I just wanted to share with you a quick, delicious meal made with Aldi’s Bavarian Bratwurst, German Style Sauerkraut, Bavarian Sweet Mustard and fresh apples. Ingredient quantities are flexible.
Bavarian Bratwurst with Sauerkraut and Apples
In a fry pan over medium heat, saute about ½ cup chopped yellow onion in 1-2 tablespoons vegetable or olive oil, until tender and just starting to brown.
Add 2 small apples, cut into chunks and continue to cook for about 2 minutes.
Stir in 1 cup of packed sauerkraut that the juice has been squeezed out of.
Add 2 bratwurst and cover. Simmer for about 5 minutes or until the bratwurst is hot throughout.
Serve with Aldi’s Bavarian Sweet Mustard! Delish! We had it with sweet mashed potatoes – while not traditional, it was real good.
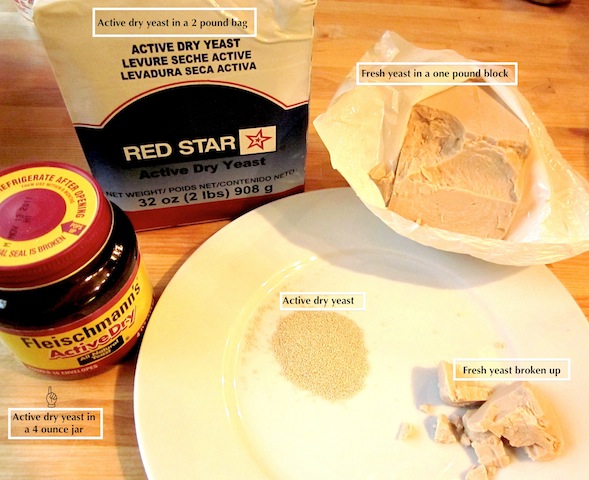
Most of my yeast doughs are made using regular active dry yeast. It is quite inexpensive when purchased in one or two pound vacuum packed bags (see Red Star Yeast below) and lasts a long time. When I open a new bag, I transfer a portion to a recycled 4 oz. yeast jar for easier handling. The rest of the yeast, in its original container, goes into a plastic bag sealed with a twist tie. I store the jar and bag in the fridge. It lasts quite a long time, but if you see your dough taking longer and longer to rise, it may be time for a new purchase. Even if the bag is only half used, it’s still cheaper than buying in small quantities. However, I probably use more yeast than the average person.
Active Dry Yeast and Fresh (compressed) Yeast
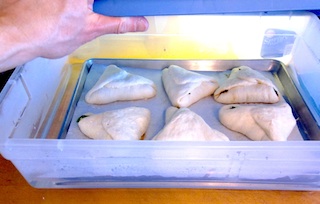
Spinach bread rising in homemade proof box
Now, about fresh yeast…
Today’s article, however is on using fresh yeast, which I’ll refer to as either fresh or compressed. Unfortunately, it may be difficult for many to purchase good quality fresh compressed yeast, which has a very short shelf life. The kind that used to be available in the grocery stores (in my area) in one or two-ounce little foil blocks have just about disappeared and they weren’t very good to begin with. This yeast is not the same as commercially available block fresh yeast which doesn’t have added starch. I believe they added starch to grocery store yeast so that it could be proofed with the addition of just warm water -no added sugar or flour necessary. Of course, the yeast needs food, but you can add that yourself when you’re ready to use it.
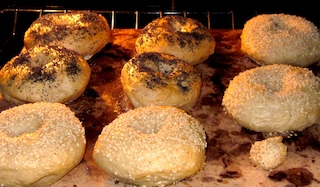
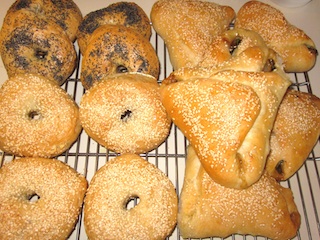
The yeast used to make the dough for the bagels and spinach bread seen in the pictures here is commercial compressed yeast, sometimes referred to as wet or fresh yeast. It comes in one-pound blocks, needs to be kept refrigerated, and is relatively inexpensive if you do enough baking to use the majority of it before it goes bad. It can be difficult to ascertain the freshness when purchased in loose blocks, unlike a bakery or pizza place that may purchase a case. When fresh, the yeast should have a pleasant yeasty odor, and not foul or moldy. It shouldn’t be dry on the surface, but that is hard to tell because it is wrapped as you see in the picture. I get mine from a cash and carry supply store that sells wholesale and retail food supplies. You may have some luck trying to purchase it from a bakery or pizza place too. Here’s an online source, but it’s very expensive. I purchase it for under $2.00 a pound locally.
Now I’ll get to the part of why you would want to bother using fresh yeast. When it is truly fresh, it is the best and easiest stuff to use! I would recommend weighing the yeast, because unlike active dry yeast, which can be accurately measured by volume (with teaspoons, etc.), fresh yeast is crumbly and can only be measured approximately by volume. When substituting fresh for dry, I use about 1 oz. of compressed yeast in exchange for 1 tablespoon active dry yeast or .3 oz. fresh for one teaspoon dry. One ounce of the compressed yeast is about 1/4 cup fresh, compressed yeast, loosely crumbled. The real advantage in using the fresh yeast is that for most bread and pizza doughs, you don’t need to dissolve or soften the yeast first. Just lightly crumble the yeast and add directly to the flour before adding your liquids, etc. That saves you a step and eliminates dirtying another bowl or cup for dissolving (softening) the yeast. This yeast is very alive and not dried out into little grains that need to be brought back to life.
The recipe for the dough used in this video and pictures is very simple:
2 pounds of bread flour (about 7 cups)* 1 oz. fresh compressed yeast 1 tablespoon Kosher salt 19 fl.oz. warm water
Combine all ingredients in a large mixer bowl and mix on speed one with a dough hook until the dough is formed. Continue to mix for 10 minutes more. You need a large stand mixer for this size batch, of at at least a 6 qt. capacity. For hand kneading, just mix the dough by hand until the ingredients all come together and then knead for about 6-8 minutes. You can view my pizza dough video to see the hand kneading method in action.
Allow the dough to rest in the bowl for 15-20 minutes, covered. Round the dough and cover again, allowing it to rise until double. This should take about 45 minutes to an hour and a half depending on your room temperature and the temperature of the dough. (see, How long does it take for the dough to rise?).
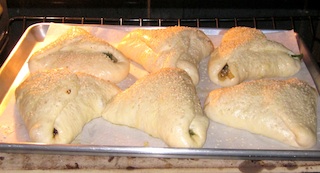
The dough can now be divided and made into your desired products. Here is my bagel recipe and here is my Spinach Bread recipe. The spinach bread shown on this page are quite large. I used 4 oz. of dough for each!