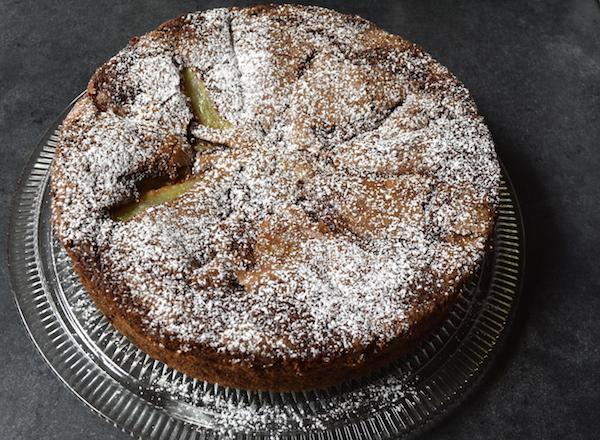
Welcome to our new series exploring bakeries in the Capital Region (Albany area) of New York State. Our first visit was to The Placid Baker in Troy NY. We got there right before closing, so the cases weren’t full (which is as it should be), but there were still some beautiful sights to behold! The dark chocolate sandwich cookies were wonderfully chocolatey and moist. Croissants – crispy on the outside with lots of buttery layers on the inside. The baguette was fantastic, but unfortunately I forgot to take a picture (but I did remember to eat it).
Definitely worth a visit! Stay tuned for our next stop!
It was a beautiful summer day to grill some flatbreads and I decided to experiment with a few bagel-flatbreads (without the holes). I used a variation of my bagel recipe, but without using the sponge method. See dough method at end of article. Below is my original Grilled Flatbread video for reference.
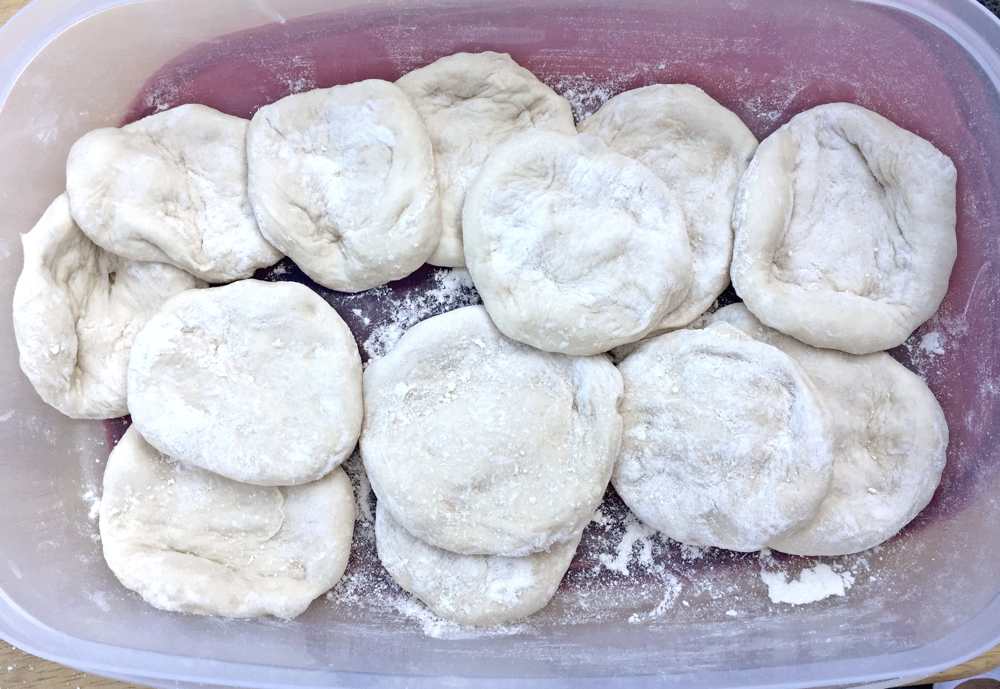
Dough balls after slightly flattening
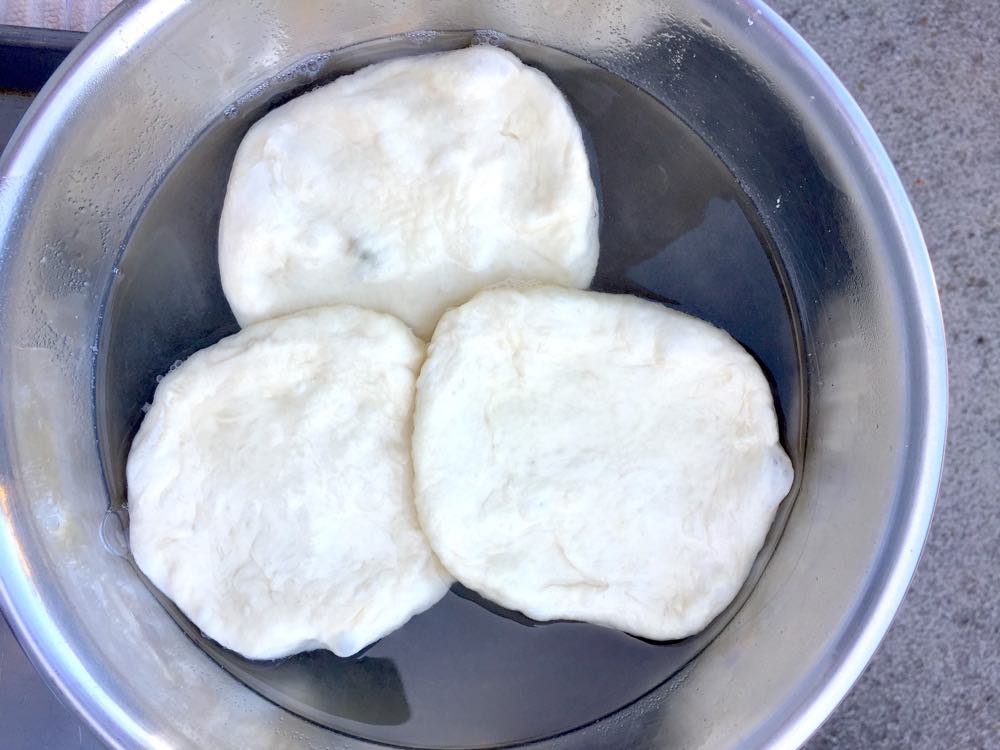
Flattened dough in hot water
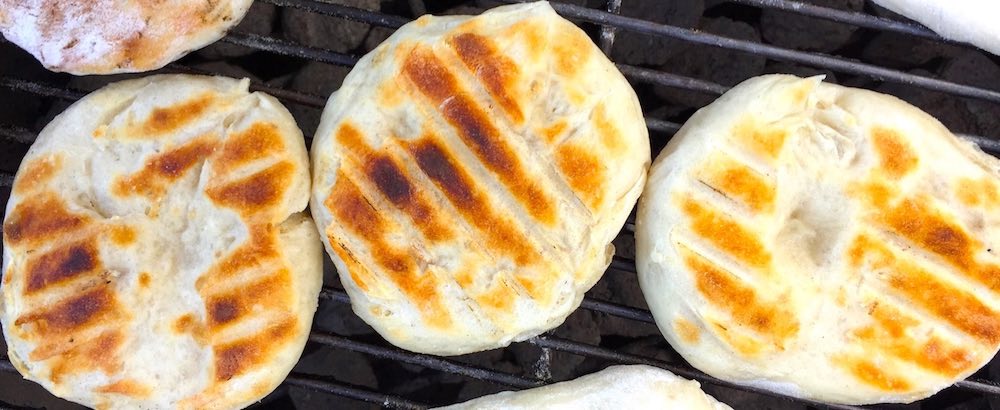
The bagel-flatbreads after turning (The three in the center)
I only experimented with 3 pieces of dough. I just let them sit in boiling hot water for about one minute and then placed them directly on the grill. At first they stuck quite a bit, but as soon as the dough cooked, they released fairly easily. They really did taste like a combination of a bagel and a grilled flatbread. I love doing these little experiments on the grill! BTW- I freeze the flatbreads and then just heat them up in the toaster oven as needed. They are great reheated. They also make a tasty breakfast bread – regular or bagel version!
Dough Prep Method: Put 2 lbs of bread flour in the mixer bowl, make a little indentation in the flour and add 2.5 cups warm water. (You may need to adjust the amount of water.) Sprinkle the yeast over the water and stir just a little (trying not to mix in too much flour). After a few minutes, the yeast is softened. Add 1 tablespoon of salt and mix on low speed for 10 minutes. This method saves prep time and dirty dishes. Cover and let the dough rise until doubled in volume. Divide the dough into desired number of pieces, round, cover and rest for 15-30 minutes. The dough can be refrigerated before using. For more information, see my Grilled Flatbread page. For more info on yeast doughs, please see the following articles: How Long Does it Take Dough to Rise and Pizza Dough FAQs. My Pizza for Two dough will work great for grilled flatbreads too. There’s also a video so that you can see the above method for softening the active dry yeast.
Our Fall Schedule is out! We’ll be making some incredibly delicious foods this season. Just take a look at a few… And then go sign up at SusansCookingSchool.com.
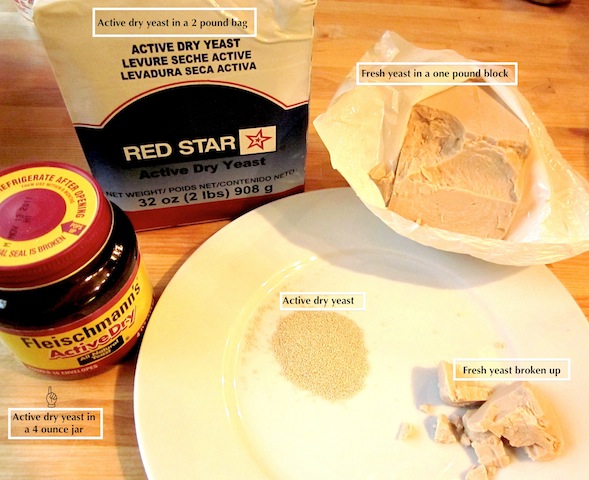
Most of my yeast doughs are made using regular active dry yeast. It is quite inexpensive when purchased in one or two pound vacuum packed bags (see Red Star Yeast below) and lasts a long time. When I open a new bag, I transfer a portion to a recycled 4 oz. yeast jar for easier handling. The rest of the yeast, in its original container, goes into a plastic bag sealed with a twist tie. I store the jar and bag in the fridge. It lasts quite a long time, but if you see your dough taking longer and longer to rise, it may be time for a new purchase. Even if the bag is only half used, it’s still cheaper than buying in small quantities. However, I probably use more yeast than the average person.
Active Dry Yeast and Fresh (compressed) Yeast
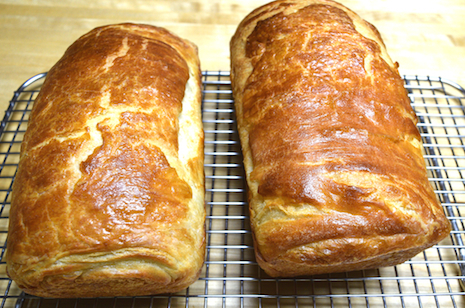
Spinach bread rising in homemade proof box
Now, about fresh yeast…
Today’s article, however is on using fresh yeast, which I’ll refer to as either fresh or compressed. Unfortunately, it may be difficult for many to purchase good quality fresh compressed yeast, which has a very short shelf life. The kind that used to be available in the grocery stores (in my area) in one or two-ounce little foil blocks have just about disappeared and they weren’t very good to begin with. This yeast is not the same as commercially available block fresh yeast which doesn’t have added starch. I believe they added starch to grocery store yeast so that it could be proofed with the addition of just warm water -no added sugar or flour necessary. Of course, the yeast needs food, but you can add that yourself when you’re ready to use it.
The yeast used to make the dough for the bagels and spinach bread seen in the pictures here is commercial compressed yeast, sometimes referred to as wet or fresh yeast. It comes in one-pound blocks, needs to be kept refrigerated, and is relatively inexpensive if you do enough baking to use the majority of it before it goes bad. It can be difficult to ascertain the freshness when purchased in loose blocks, unlike a bakery or pizza place that may purchase a case. When fresh, the yeast should have a pleasant yeasty odor, and not foul or moldy. It shouldn’t be dry on the surface, but that is hard to tell because it is wrapped as you see in the picture. I get mine from a cash and carry supply store that sells wholesale and retail food supplies. You may have some luck trying to purchase it from a bakery or pizza place too. Here’s an online source, but it’s very expensive. I purchase it for under $2.00 a pound locally.
Now I’ll get to the part of why you would want to bother using fresh yeast. When it is truly fresh, it is the best and easiest stuff to use! I would recommend weighing the yeast, because unlike active dry yeast, which can be accurately measured by volume (with teaspoons, etc.), fresh yeast is crumbly and can only be measured approximately by volume. When substituting fresh for dry, I use about 1 oz. of compressed yeast in exchange for 1 tablespoon active dry yeast or .3 oz. fresh for one teaspoon dry. One ounce of the compressed yeast is about 1/4 cup fresh, compressed yeast, loosely crumbled. The real advantage in using the fresh yeast is that for most bread and pizza doughs, you don’t need to dissolve or soften the yeast first. Just lightly crumble the yeast and add directly to the flour before adding your liquids, etc. That saves you a step and eliminates dirtying another bowl or cup for dissolving (softening) the yeast. This yeast is very alive and not dried out into little grains that need to be brought back to life.
The recipe for the dough used in this video and pictures is very simple:
2 pounds of bread flour (about 7 cups)* 1 oz. fresh compressed yeast 1 tablespoon Kosher salt 19 fl.oz. warm water
Combine all ingredients in a large mixer bowl and mix on speed one with a dough hook until the dough is formed. Continue to mix for 10 minutes more. You need a large stand mixer for this size batch, of at at least a 6 qt. capacity. For hand kneading, just mix the dough by hand until the ingredients all come together and then knead for about 6-8 minutes. You can view my pizza dough video to see the hand kneading method in action.
Allow the dough to rest in the bowl for 15-20 minutes, covered. Round the dough and cover again, allowing it to rise until double. This should take about 45 minutes to an hour and a half depending on your room temperature and the temperature of the dough. (see, How long does it take for the dough to rise?).
The dough can now be divided and made into your desired products. Here is my bagel recipe and here is my Spinach Bread recipe. The spinach bread shown on this page are quite large. I used 4 oz. of dough for each!