This is one of the most frequent questions I get asked from YouTube viewers and students. Usually it refers to leftover pizza dough, but it can be about any yeast dough. My answer is that the freezer is not too friendly to living yeast and the dough will be rather lifeless after being thawed. I prefer to finish off all I’ve made made (although, I sometimes refrigerate some for use the next day) and then freeze the finished product. This is true with pizza and breads.
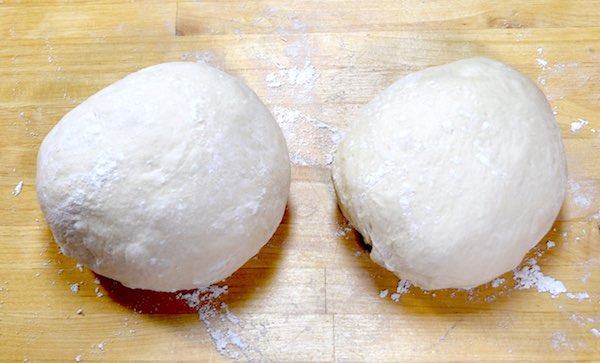
Freshly made dough
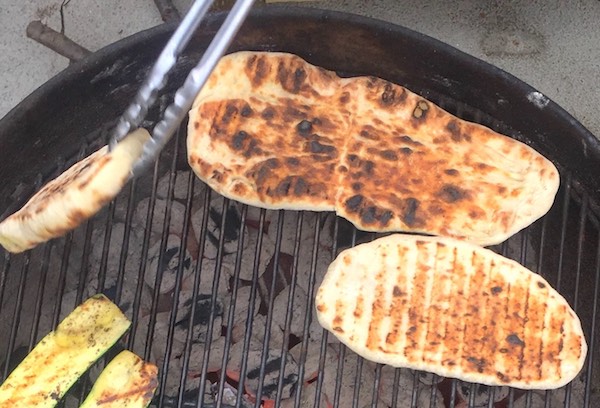
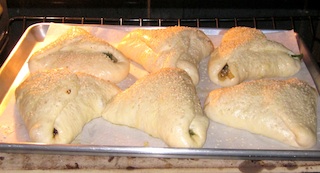
For example, a couple of weeks ago we did some backyard grilling and I made one of my all-time favorites, grilled flat bread. It can be made with almost any lean dough (one that doesn’t have too much sugar or fat) and is super easy and fast. The charcoal was a bit too hot since my husband decided to throw on some wood clippings from our pear tree, so they sure cooked fast! Some a little too fast. They were delicious and we ate a bunch with dinner. The leftovers were frozen in a plastic bag. To reheat, I just pop them in the toaster oven (watch closely) and enjoy nice hot flat breads. I’ve even warmed them over my gas burner. You can also microwave to thaw first -very briefly.
On the grill
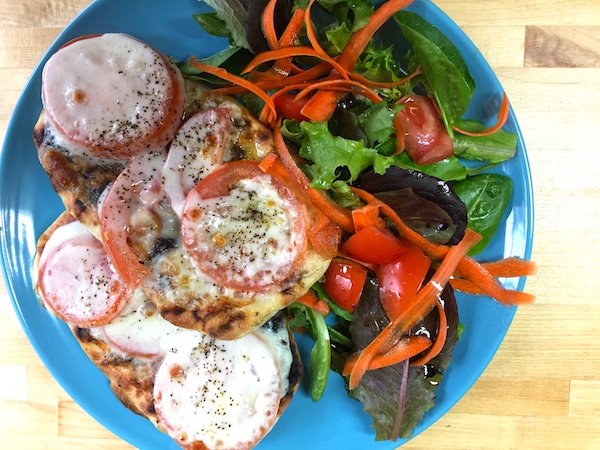
Today, I needed to make a quick lunch and there wasn’t too much going on in the fridge, so I took out a couple of breads, defrosted them in the microwave, topped with a little olive oil, fresh tomato and provolone cheese.
Ready for the toaster oven
Popped them into the toaster oven and voilà, I had a nice hot lunch with a flavor reminiscent of the fresh made flat breads! Here’s the recipe.
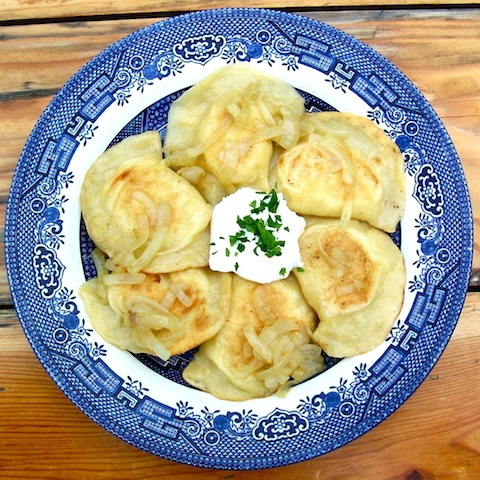
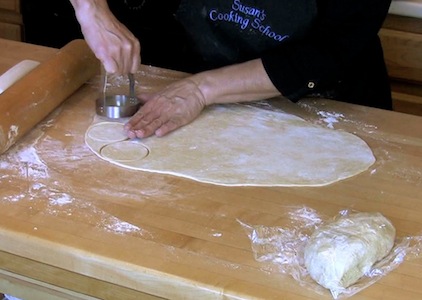
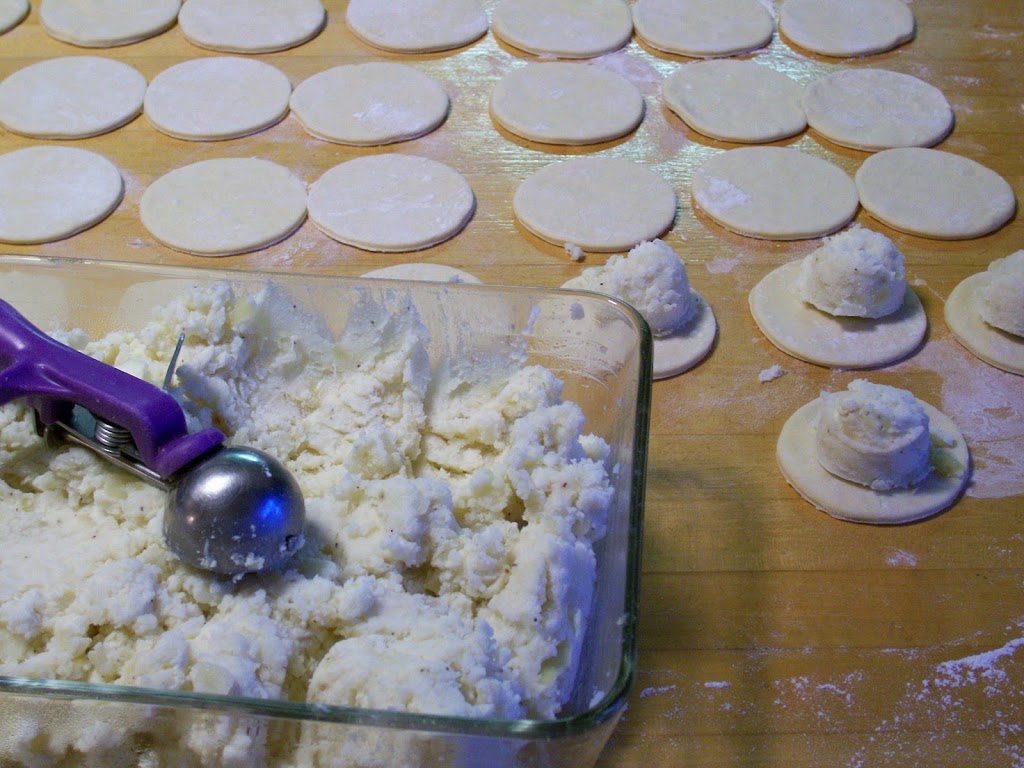
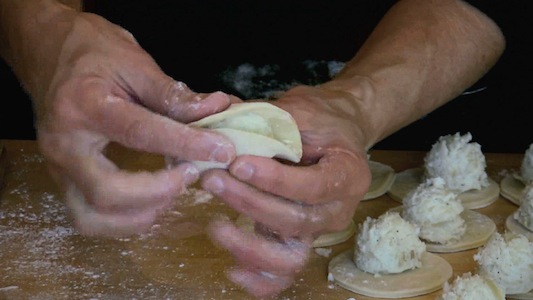
I’m happy to announce that my How To Make Pierogi DVD is now available at Amazon.com for only $9.50. This DVD is the perfect gift for anyone who likes to cook and eat, especially Polish food.
As the owner of Susan’s Cooking School and former owner of Polonaise Restaurant, I share all my secrets and tips on how to make the perfect pierogi dough and two delicious fillings: Potato & Cheese and Sauerkraut & Mushroom! Step by step instructions will guide you in every step of the process, including how to roll out the dough, cut the circles, fill and boil. Sautéing and presentation are also included.
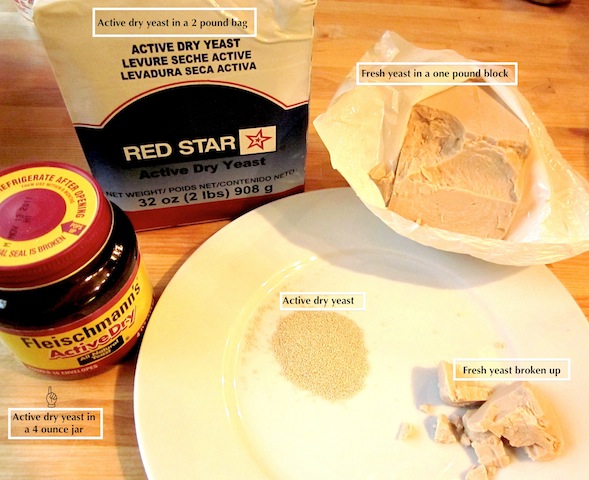
Most of my yeast doughs are made using regular active dry yeast. It is quite inexpensive when purchased in one or two pound vacuum packed bags (see Red Star Yeast below) and lasts a long time. When I open a new bag, I transfer a portion to a recycled 4 oz. yeast jar for easier handling. The rest of the yeast, in its original container, goes into a plastic bag sealed with a twist tie. I store the jar and bag in the fridge. It lasts quite a long time, but if you see your dough taking longer and longer to rise, it may be time for a new purchase. Even if the bag is only half used, it’s still cheaper than buying in small quantities. However, I probably use more yeast than the average person.
Active Dry Yeast and Fresh (compressed) Yeast
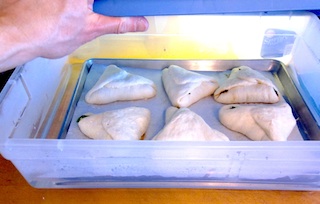
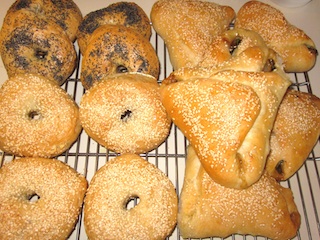
Spinach bread rising in homemade proof box
Now, about fresh yeast…
Today’s article, however is on using fresh yeast, which I’ll refer to as either fresh or compressed. Unfortunately, it may be difficult for many to purchase good quality fresh compressed yeast, which has a very short shelf life. The kind that used to be available in the grocery stores (in my area) in one or two-ounce little foil blocks have just about disappeared and they weren’t very good to begin with. This yeast is not the same as commercially available block fresh yeast which doesn’t have added starch. I believe they added starch to grocery store yeast so that it could be proofed with the addition of just warm water -no added sugar or flour necessary. Of course, the yeast needs food, but you can add that yourself when you’re ready to use it.
The yeast used to make the dough for the bagels and spinach bread seen in the pictures here is commercial compressed yeast, sometimes referred to as wet or fresh yeast. It comes in one-pound blocks, needs to be kept refrigerated, and is relatively inexpensive if you do enough baking to use the majority of it before it goes bad. It can be difficult to ascertain the freshness when purchased in loose blocks, unlike a bakery or pizza place that may purchase a case. When fresh, the yeast should have a pleasant yeasty odor, and not foul or moldy. It shouldn’t be dry on the surface, but that is hard to tell because it is wrapped as you see in the picture. I get mine from a cash and carry supply store that sells wholesale and retail food supplies. You may have some luck trying to purchase it from a bakery or pizza place too. Here’s an online source, but it’s very expensive. I purchase it for under $2.00 a pound locally.
Now I’ll get to the part of why you would want to bother using fresh yeast. When it is truly fresh, it is the best and easiest stuff to use! I would recommend weighing the yeast, because unlike active dry yeast, which can be accurately measured by volume (with teaspoons, etc.), fresh yeast is crumbly and can only be measured approximately by volume. When substituting fresh for dry, I use about 1 oz. of compressed yeast in exchange for 1 tablespoon active dry yeast or .3 oz. fresh for one teaspoon dry. One ounce of the compressed yeast is about 1/4 cup fresh, compressed yeast, loosely crumbled. The real advantage in using the fresh yeast is that for most bread and pizza doughs, you don’t need to dissolve or soften the yeast first. Just lightly crumble the yeast and add directly to the flour before adding your liquids, etc. That saves you a step and eliminates dirtying another bowl or cup for dissolving (softening) the yeast. This yeast is very alive and not dried out into little grains that need to be brought back to life.
The recipe for the dough used in this video and pictures is very simple:
2 pounds of bread flour (about 7 cups)* 1 oz. fresh compressed yeast 1 tablespoon Kosher salt 19 fl.oz. warm water
Combine all ingredients in a large mixer bowl and mix on speed one with a dough hook until the dough is formed. Continue to mix for 10 minutes more. You need a large stand mixer for this size batch, of at at least a 6 qt. capacity. For hand kneading, just mix the dough by hand until the ingredients all come together and then knead for about 6-8 minutes. You can view my pizza dough video to see the hand kneading method in action.
Allow the dough to rest in the bowl for 15-20 minutes, covered. Round the dough and cover again, allowing it to rise until double. This should take about 45 minutes to an hour and a half depending on your room temperature and the temperature of the dough. (see, How long does it take for the dough to rise?).
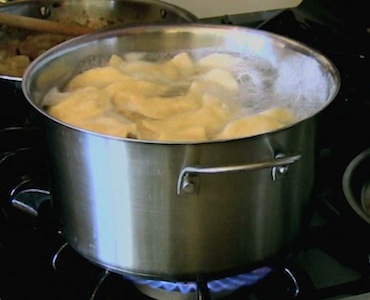
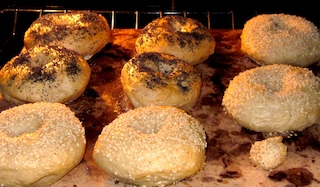
The dough can now be divided and made into your desired products. Here is my bagel recipe and here is my Spinach Bread recipe. The spinach bread shown on this page are quite large. I used 4 oz. of dough for each!