Posted on

Grilled Bagel Flatbreads?


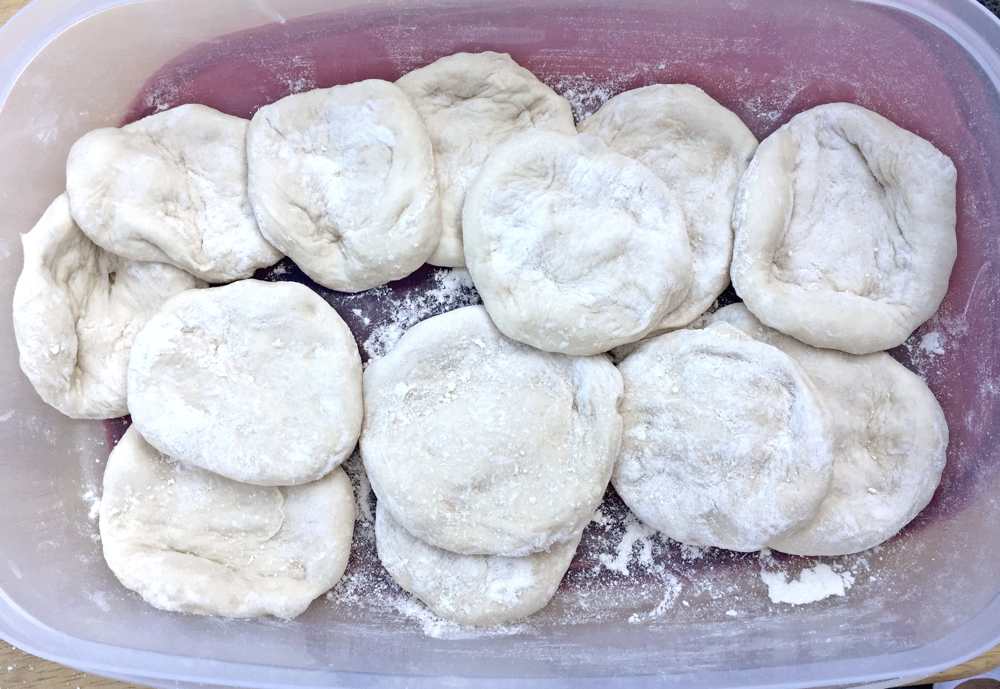
It was a beautiful summer day to grill some flatbreads and I decided to experiment with a few bagel-flatbreads (without the holes). I used a variation of my bagel recipe, but without using the sponge method. See dough method at end of article.
Below is my original Grilled Flatbread video for reference.

Dough balls after slightly flattening
Flattened dough in hot water
The bagel-flatbreads after turning (The three in the center)

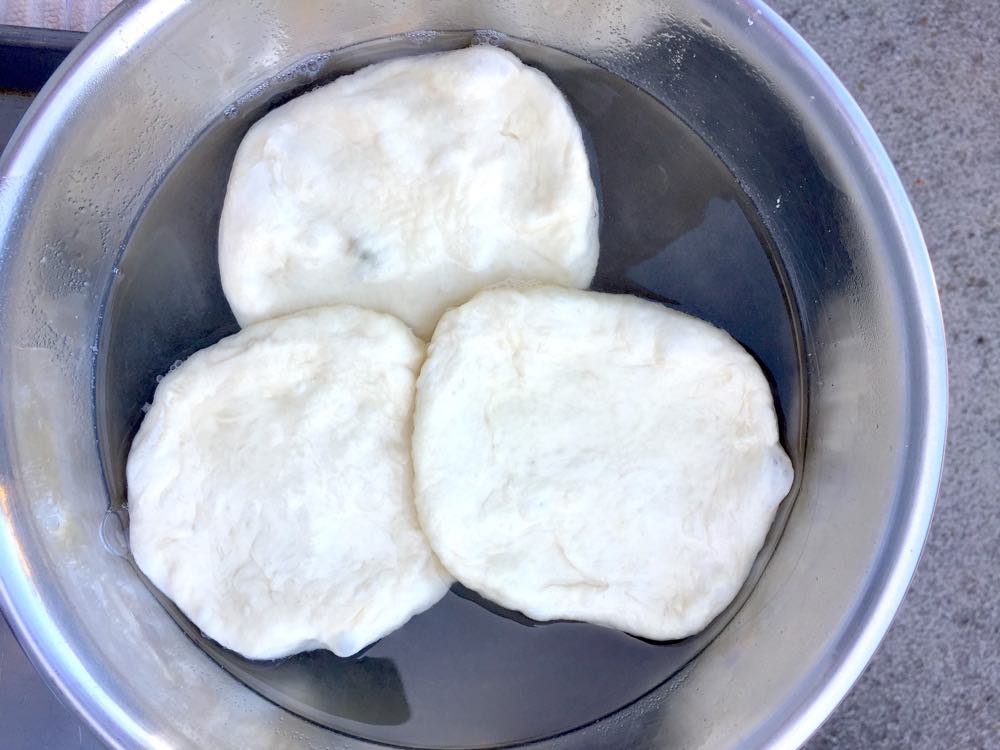
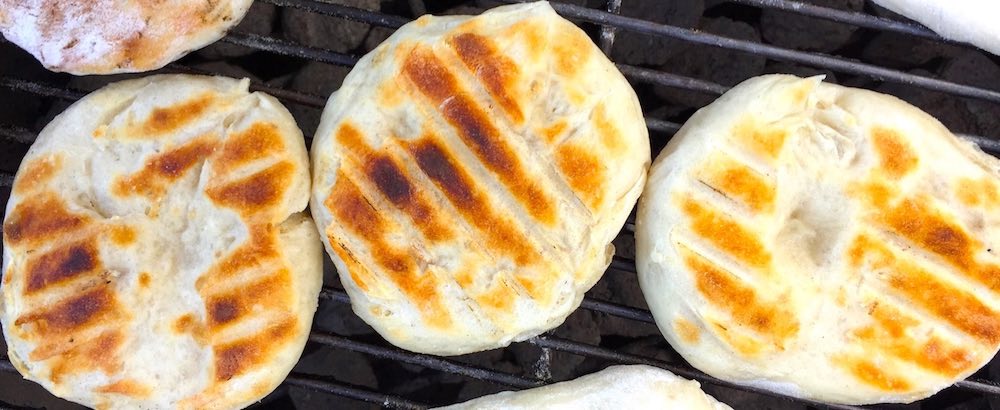
I only experimented with 3 pieces of dough. I just let them sit in boiling hot water for about one minute and then placed them directly on the grill. At first they stuck quite a bit, but as soon as the dough cooked, they released fairly easily. They really did taste like a combination of a bagel and a grilled flatbread.
I love doing these little experiments on the grill! BTW- I freeze the flatbreads and then just heat them up in the toaster oven as needed. They are great reheated. They also make a tasty breakfast bread – regular or bagel version!

Dough Prep Method: Put 2 lbs of bread flour in the mixer bowl, make a little indentation in the flour and add 2.5 cups warm water. (You may need to adjust the amount of water.) Sprinkle the yeast over the water and stir just a little (trying not to mix in too much flour). After a few minutes, the yeast is softened. Add 1 tablespoon of salt and mix on low speed for 10 minutes. This method saves prep time and dirty dishes. Cover and let the dough rise until doubled in volume. Divide the dough into desired number of pieces, round, cover and rest for 15-30 minutes. The dough can be refrigerated before using.  For more information, see my Grilled Flatbread page.
For more info on yeast doughs, please see the following articles: How Long Does it Take Dough to Rise and Pizza Dough FAQs.
My Pizza for Two dough will work great for grilled flatbreads too. There’s also a video so that you can see the above method for softening the active dry yeast.

Posted on 1 Comment

Homemade Proof Box for Croissants (and other breads)

My croissants after using my new proofer!

 It’s always been a challenge proofing (the final rise before baking) home made croissants.  The butter that is encased in the dough will melt if the croissants get too warm (above 90F). Unfortunately, in my cool kitchen, the croissants take forever to rise and can get dried out during the process even when covered. Also, a cold croissant, even if proofed sufficiently, may not get as good an oven rise as one that is 80-90 F throughout. In a commercial setting, bakers have a proofing cabinet available to keep humidity and temperature under control. I have tried for years to come up with a home solution that was inexpensive, easy to use and not too risky (like using my oven as a proof box). Today, I was quite excited to have come up with the best solution so far.

28 quart Sterilite container – proof box

I tried two different containers for my proof box; a 28 quart Sterilite bin with a cover and a metal chafing pan with a domed lid. They both worked fine, but the plastic container is larger, lighter and cheaper, so that’s the one I’m going to show you. I placed it on a hot pad, put a half sheet pan inside and filled the pan with about a half of an inch of hot water. Then I placed a baking rack over the water on the sheet pan and put my tray of croissants on the rack to proof. Then the lid went on and about 30 minutes later the croissants were ready to be baked! The temperature was monitored with a probe thermometer. I used boiling water, which made the proofing environment at little too hot at first, but after a while it cooled down enough so that the butter was safe from melting. Even thought the temperature was too warm, the croissants rose and were ready for baking, before the butter had a chance to melt. I suppose the internal temperature of the croissant was not as high as the ambient temperature of the bin.  I was quite happy with the results – The proofing time was short and the croissants stayed intact and baked beautifully!

Croissants proofing on a rack over hot water in a pan in a plastic bin.
Before egg glaze and baking.

Thermometer showing that the temperature was a little too warm at first. Between 90-95 would be best.

For more info on making croissants, please check out the video above and/or my croissant recipe page. Happy baking!